

When you use Magical with a company email domain (e.g.claire@getmagical.com), you can create team workspaces and share transfers to specific teams (similar to sharing templates).
You can share transfers to show your teammates how you use transfers to fill sheets or forms/database entries. Sharing your transfer with them lets them transfer data in the same way.
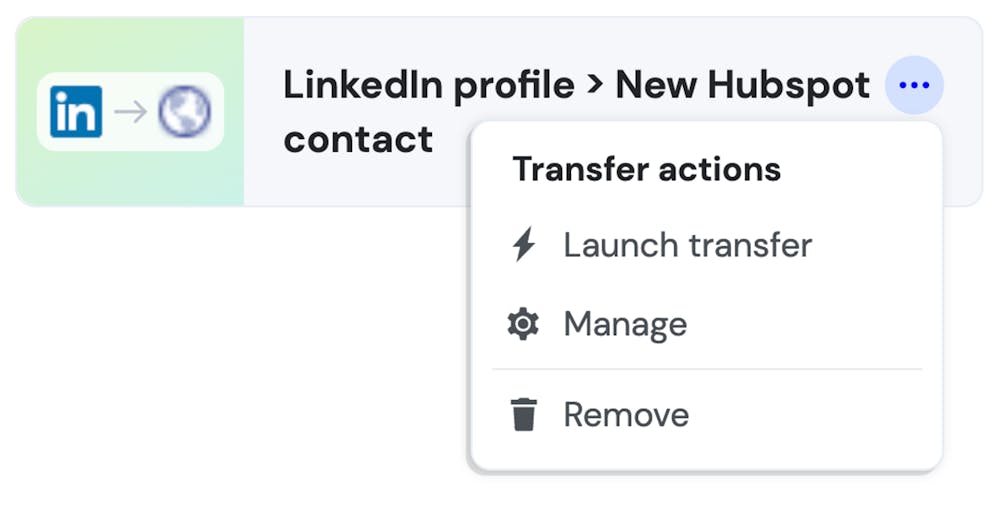
Go to the “transfers” tab of the panel or workspace to see the transfers you can share.
Click on the ‘...’ on a transfer card to see a menu with the “manage” option
In the menu that appears, choose the teams you want to share the transfer with. Give your transfer a name that’ll help everyone know what it’s for.
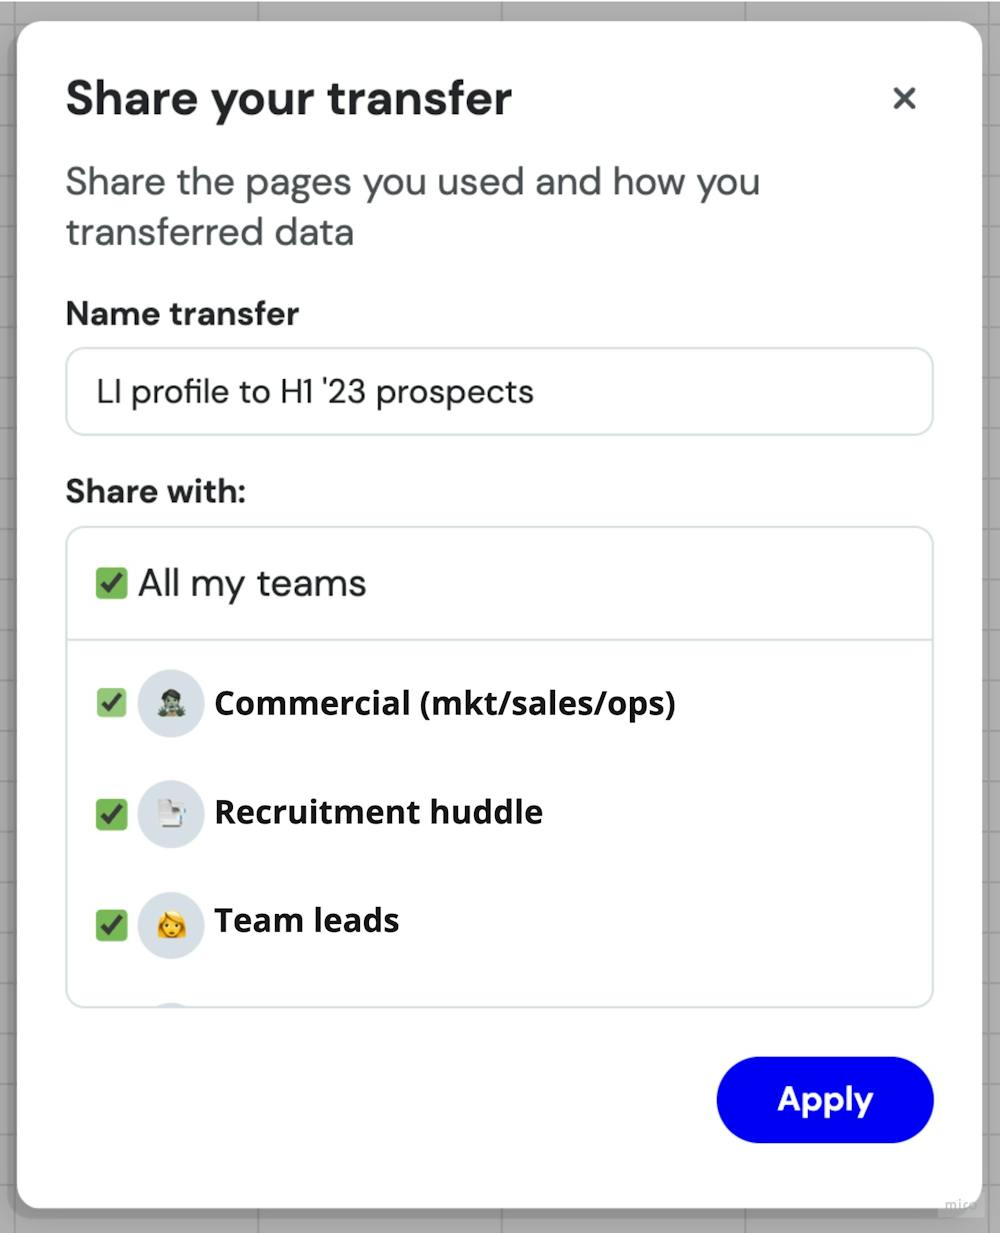
Click “Apply” and your transfer will be shared with everyone in the teams you chose.
Users in those teams will see a card for the transfer you shared with them. They’ll be able to click on the card to open the URLs you used for the transfer, and transfer data between similar pages without any setup.
They won’t be able to edit or delete the transfer you shared. Only you can do that!
It’s easy to change a transfer you’ve already shared.
You can only change transfers you created.
Open the pages you used for the transfer. You can do this by clicking the card for the transfer you want to change. Magical will make sure both pages are open, then take you to the destination page.
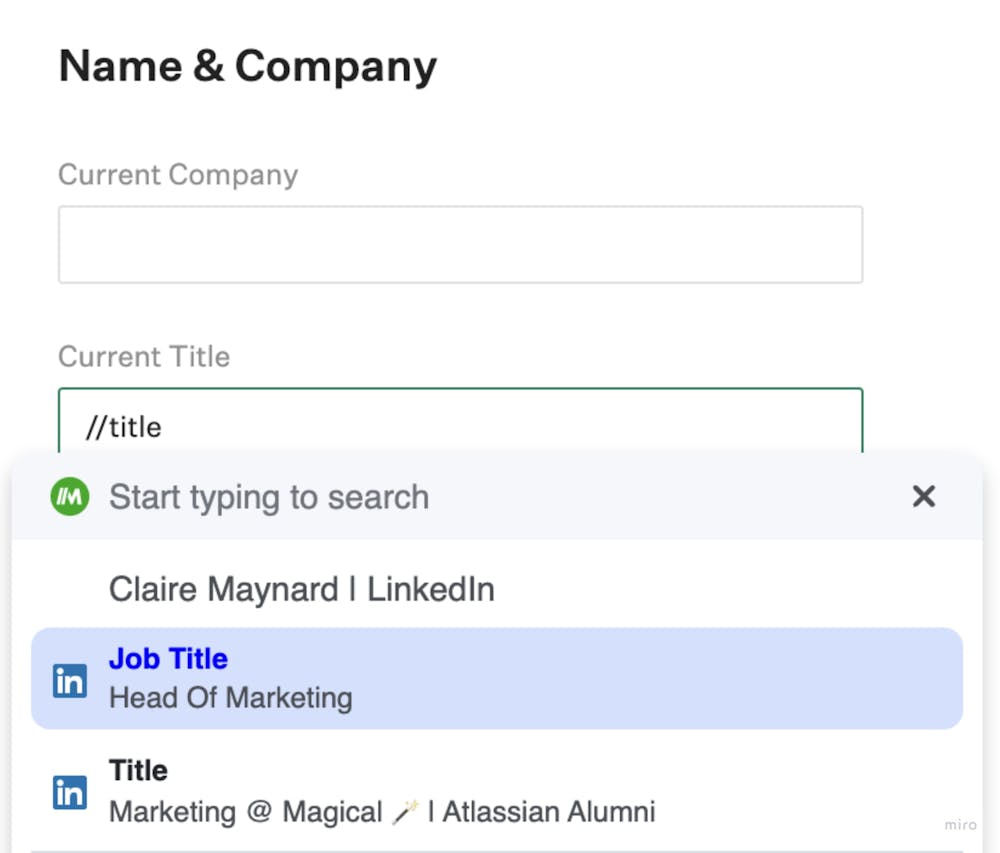
Once you’re on the destination page, type // in a field you want to modify. A menu will appear.
Use this menu to choose labels to use in your transfer.
For example, in the image below, I tell Magical to use data with the ‘Job Title’ label to fill the ‘Current Title’ field in the destination page of the transfer.
Repeat for all the fields you want to modify.
Then, find the card for the transfer again, click on the ‘...’, and choose the “manage” option.
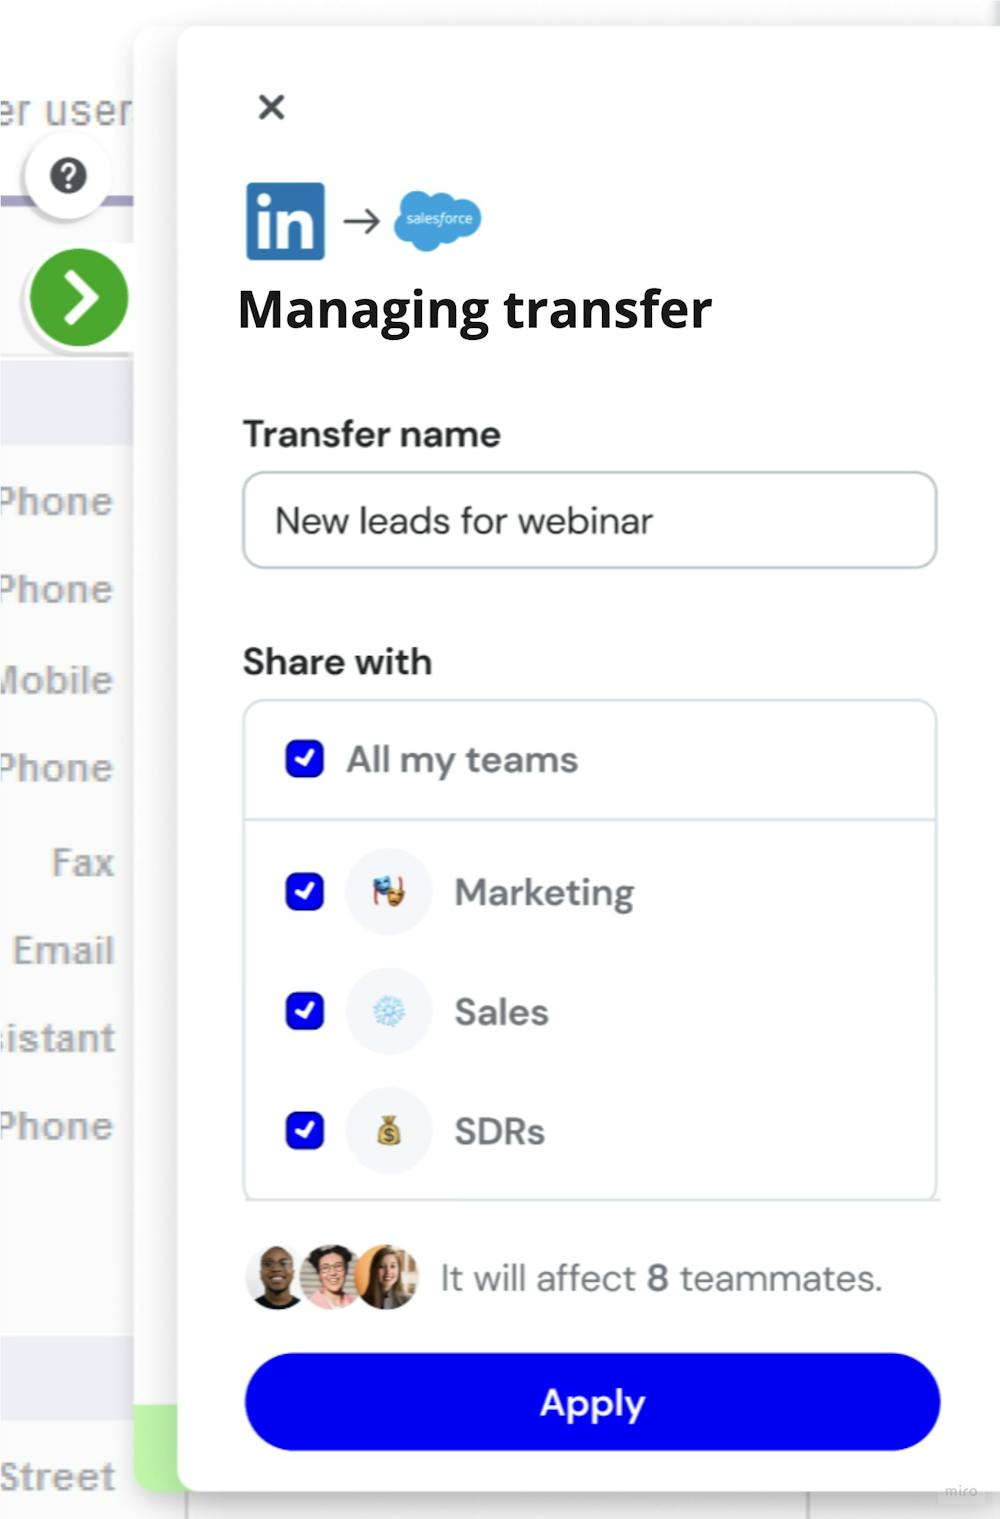
Click “Apply” and you’re done! The shared transfer will be updated with the new set of labels you used.
Creators of shared transfers can remove the transfer for themselves and everyone the transfer is shared with.
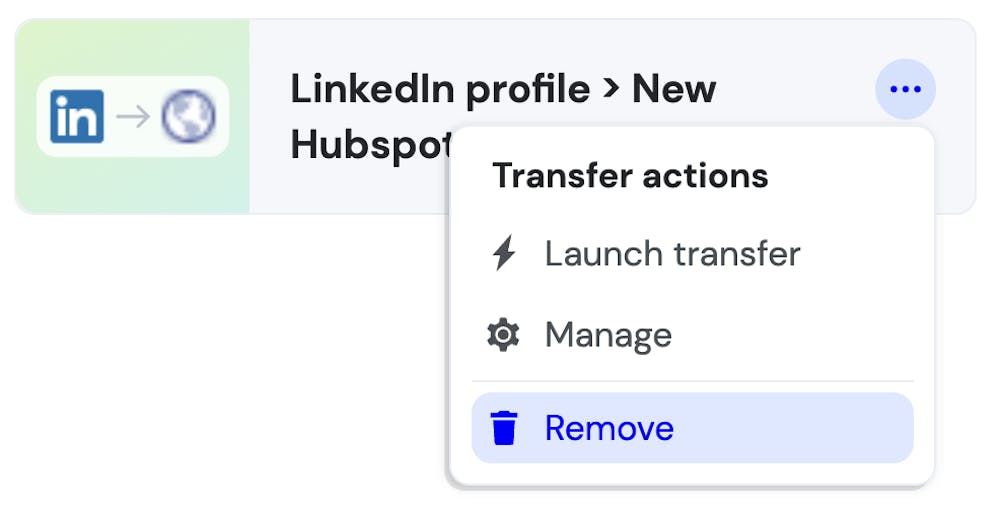
Click on the “…” icon of the transfer card and select the “Remove” option. You can do this from the panel or workspace
You’ll be asked to confirm to remove the transfer.
If you select remove, the transfer card will disappear for you and anyone it’s shared with, and the transfer won’t be recoverable.
Using multiple transfers together adds power to your transfers and helps your team do work more quickly.
For example, if you’re filling a form already have a transfer that fills “First name” and “Last name” and your teammate shares a transfer with you that fills “Ticket number” and “Assigned technician”, it’s easy to use those transfers together:
Launch the shared transfer you want to use by clicking the “Launch transfer” option on the card
Type // in a field and choose “Transfer all”
…And that’s it! You’ll transfer the fields you already had, plus the fields your teammate share with you.
That’s easy, but a lot’s going on behind the scenes. Here’s a few things to note:
If Magical gets conflicting directions, we’ll fill the field with what it was associated with most recently.
For example, if you associate a field with “First name”, then launch a transfer that associates that field with “Full name,” it becomes associated with “Full name”! If you don’t like that, just type // in the field and choose “First name” again. Magical will remember your preferences.
Using multiple transfers into a page will combine those field associations for yourself until you share the transfer.